

Tesla black trim degradation, caused by UV rays, weather, and damage, reduces aesthetic appeal. Restoration techniques reverse discoloration, fading, or chipping to maintain resale value and sleek design. Using precise tools like knives, sandpaper, and vacuum cleaners, professionals or DIYers can achieve a flawless restoration following a step-by-step guide.
“Revive your Tesla’s sleek aesthetic with our comprehensive guide to Tesla Black Trim Restoration. Over time, the black trim on Teslas can degrade, losing its shine and becoming scratched or discolored. This article is your ultimate resource for both professional and DIY enthusiasts looking to restore this critical component. We’ll walk you through understanding the degradation process, providing essential tools and materials, and offering a step-by-step guide to ensure a like-new finish.”
- Understanding Tesla Black Trim Degradation
- Restoring Black Trim: Tools and Materials
- Step-by-Step Restoration Guide for Professionals & DIYers
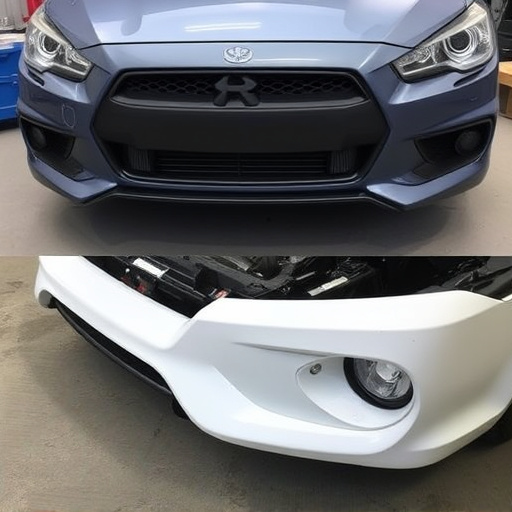
Understanding Tesla Black Trim Degradation
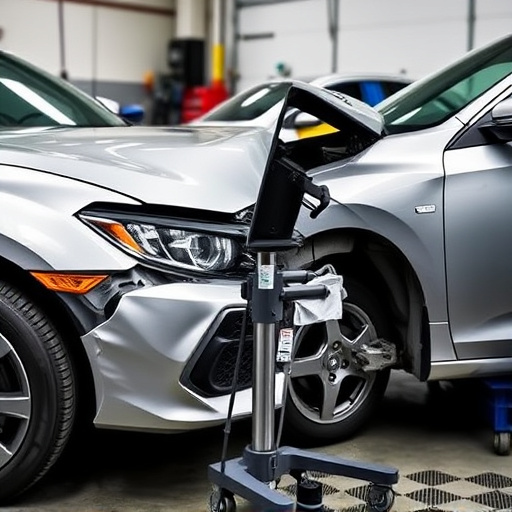
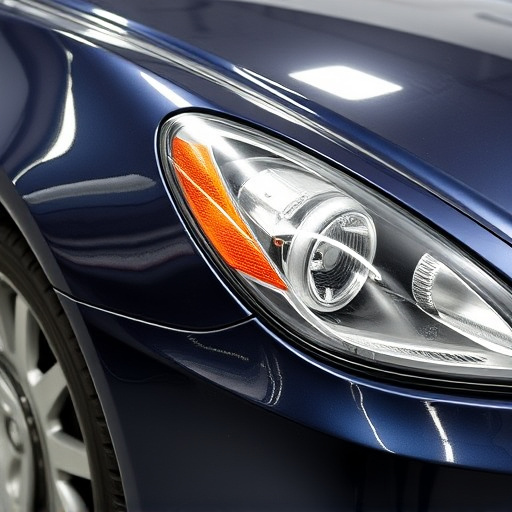
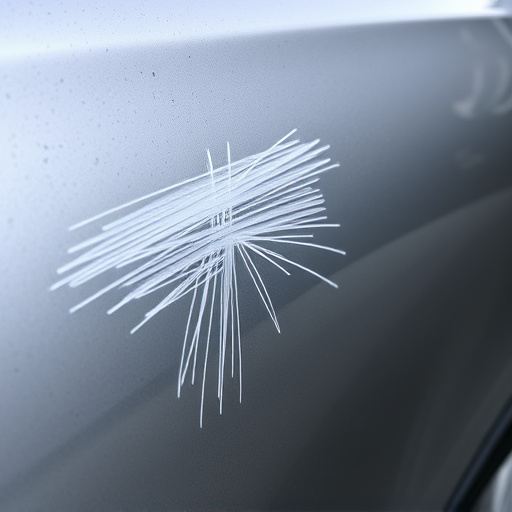
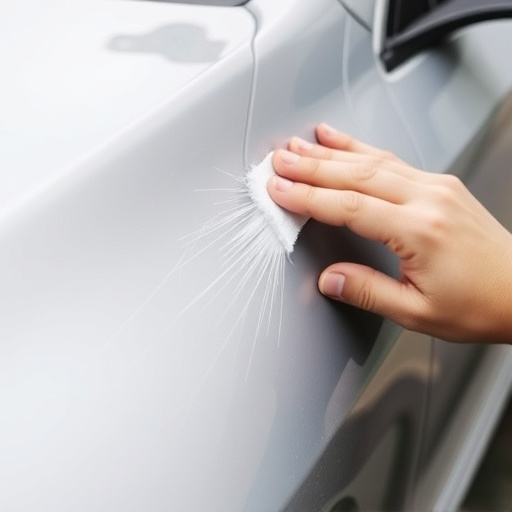
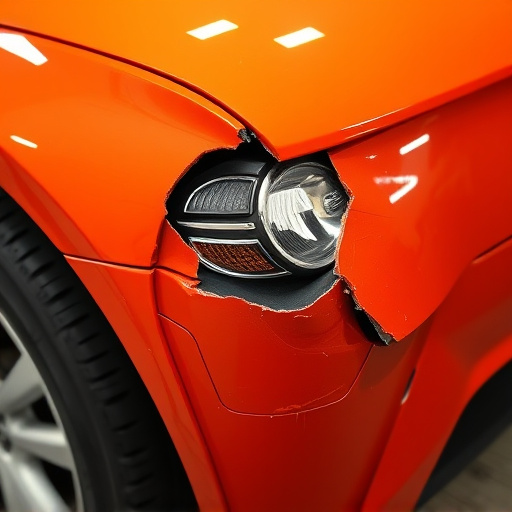
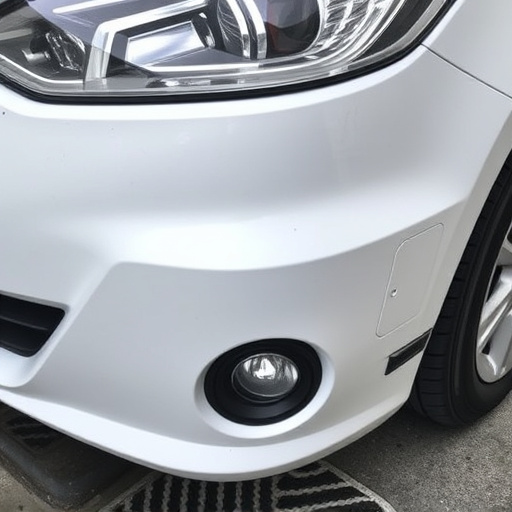
Tesla Black Trim Degradation is a common issue that can significantly impact the aesthetic appeal and overall value of Tesla vehicles. Over time, this high-quality trim material can show signs of wear and tear, including discoloration, fading, or even chipping due to exposure to UV rays, harsh weather conditions, and everyday use. These changes are exacerbated by accidental damage like vehicle collisions, car dent removal attempts, or even simple mistakes during tire services. As a result, many Tesla owners find themselves in need of efficient and effective Tesla black trim restoration solutions.
Professionals and DIY enthusiasts alike must understand that addressing this degradation early is key to preserving the trim’s original appearance. Ignoring minor issues can lead to more extensive and costly repairs later on. Whether it’s for maintaining the vehicle’s resale value or simply keeping up with its sleek design, Tesla black trim restoration techniques focus on reversing these effects, ensuring the trim looks as good as new.
Restoring Black Trim: Tools and Materials
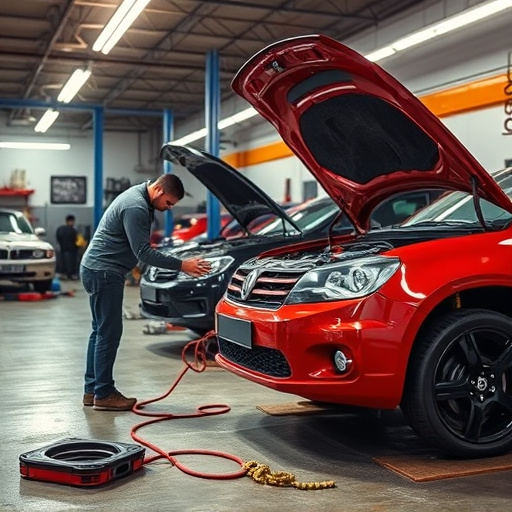
Restoring Tesla black trim requires a meticulous approach, using the right tools and materials is essential for achieving a flawless result. For professional restoration, high-quality tools such as precision knives, sandpaper in various grits, and a powerful vacuum cleaner are indispensable. These tools enable detailed work and ensure that every imperfection is removed without damaging the surrounding surfaces. When undertaking DIY projects, opt for a complete Tesla black trim restoration kit which includes all necessary tools and materials, making the process more accessible for those with limited experience.
The materials needed for this task include specialized black trim restoration compounds and paints designed to match Tesla’s original finishes. These products are formulated to withstand the unique challenges of car interiors, offering both durability and a sleek aesthetic. Additionally, protective gear like gloves and safety glasses is crucial for the safety of the restorer, especially when handling fine abrasives and chemicals. Remember, whether you’re visiting an auto repair near me or attempting DIY repairs, the right tools and materials are key to achieving a professional Tesla black trim restoration.
Step-by-Step Restoration Guide for Professionals & DIYers
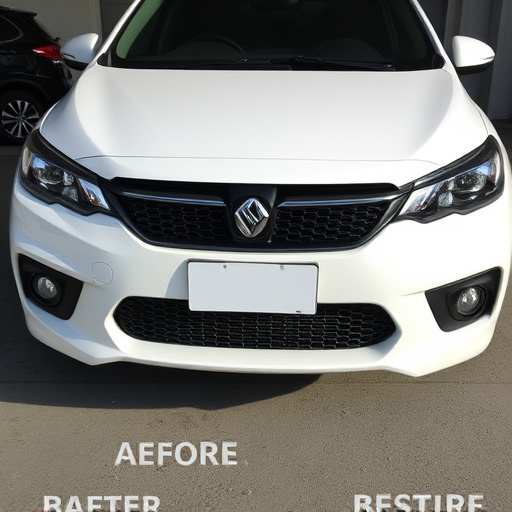
Tesla Black Trim Restoration is a meticulous process that requires precision and expertise. For both professionals and DIY enthusiasts, this step-by-step guide aims to simplify the task. Begin by preparing the work area, ensuring proper ventilation and gathering all necessary tools like sandpaper, cleaning solutions, and paint supplies.
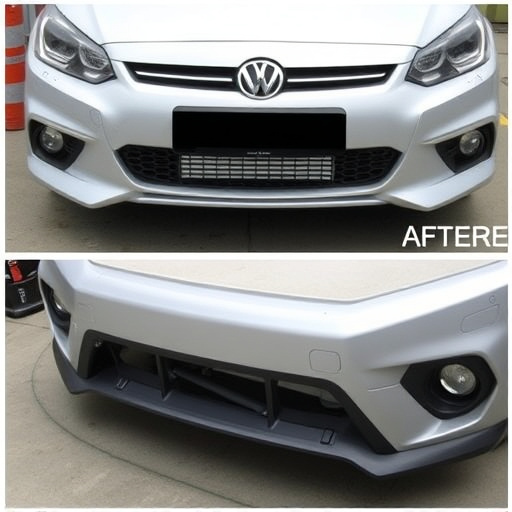
Inspect the damaged black trim, identifying chips, scratches, or faded areas. Lightly sand the surface to remove any debris, then clean thoroughly with a dedicated car wash and de-greaser to ensure optimal adhesion for new paint. Fill in minor imperfections with automotive body filler, allowing it to dry completely. Once the surface is smooth, fine-sand again for a sleek finish, then mask off adjacent areas to prevent overspray during painting. Finally, apply high-quality Tesla black paint using a spray gun or airbrush, ensuring even coverage and letting each coat dry as recommended by the manufacturer.
Tesla Black Trim Restoration is a process that can transform the look of your vehicle. By understanding the degradation process and using the right tools and materials, both professionals and DIY enthusiasts can achieve exceptional results. Following our step-by-step guide, you’ll be equipped to restore your Tesla’s black trim to its former glory, enhancing its aesthetic appeal and protecting it from future damage. Whether you opt for professional services or take on the project yourself, the key is taking meticulous care in each stage of the restoration process.